Creating an Orchard Core CMS website
In this guide you will setup Orchard Core as a Content Management System from a project template.
What you will need
- The current version of the .NET Core SDK. You can download it from here https://www.microsoft.com/net/download/core.
- A text editor and a terminal where you can type dotnet commands.
Creating the projects
There are different ways to create sites and modules for Orchard Core. You can learn more about them here.
In this guide we will use our "Code Generation Templates".
You can install the latest released templates using this command:
dotnet new -i OrchardCore.ProjectTemplates::1.0.0-*
Note
To use the development branch of the template add --nuget-source https://www.myget.org/F/orchardcore-preview/api/v3/index.json
Create an empty folder that will contain your site. Open a terminal, navigate to that folder and run this:
dotnet new occms -n MySite
This creates a new Orchard Core CMS project in a folder named MySite.
Setting up the site
The application has been created by the template, but it has not been setup yet.
Run the application by executing this command:
dotnet run --project .\MySite\MySite.csproj
Note
If you are using the development branch of the templates, run dotnet restore .\MySite\MySite.csproj --source https://www.myget.org/F/orchardcore-preview/api/v3/index.json before running the application
Your application should now be running and contain the open ports:
Now listening on: https://localhost:5001
Now listening on: http://localhost:5000
Application started. Press Ctrl+C to shut down.
Open a browser on https://localhost:5001, it should display the setup screen.
In order to build a site with all the features of a CMS with are going to use the Blog recipe. Recipes contains a list of modules and steps to configure an Orchard Core website.
Fill the form and select the Blog recipe and SQLite for the database.
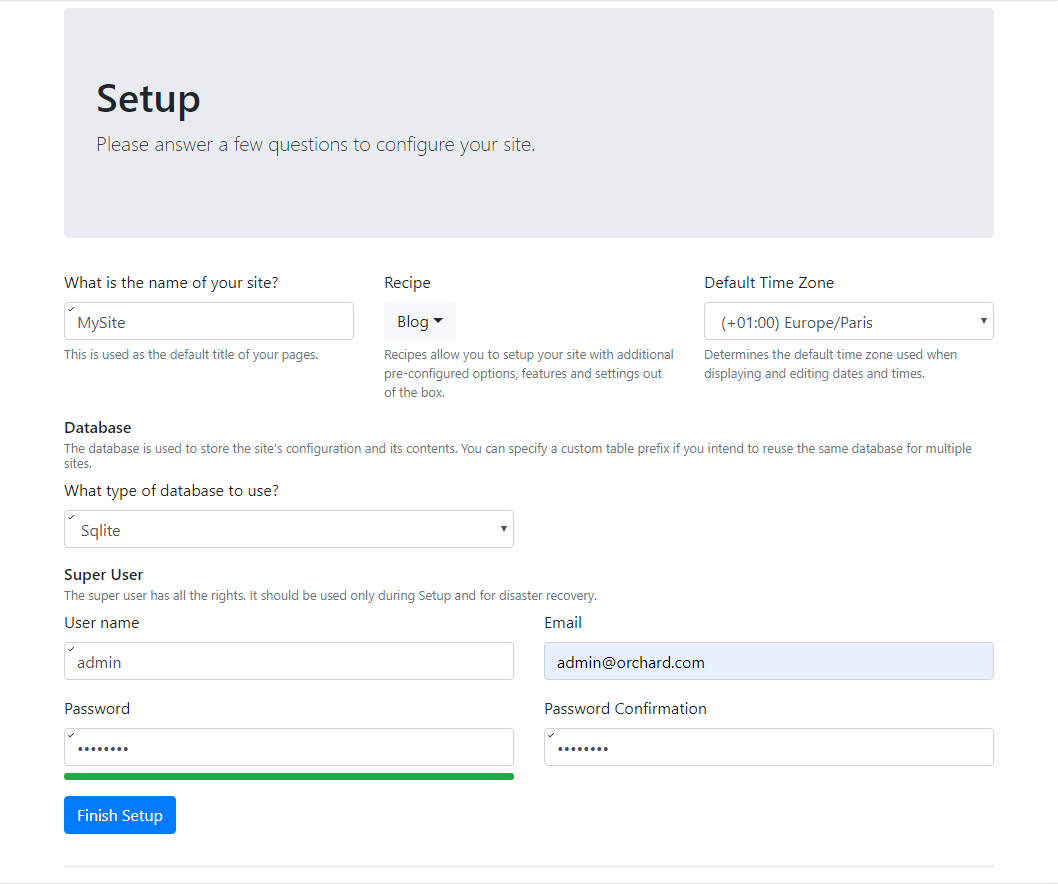
Submit the form. A few seconds later you should be looking at a Blog Site.

In order to configure it and start writing content you can go to https://localhost:5001/admin.
Summary
You just created an Orchard Core CMS powered blog engine.