Creating a new decoupled CMS Website
Introduction
This article goes through the process of creating a fully functional decoupled CMS website that lets you edit Blog Posts and render them.
Decoupled is a development model where the front-end and the back-end (administration) of the site are hosted in the same web application but only the back-end is driven by a CMS. Developers can then write their own ASP.NET Razor Pages or Controllers to have total control on what is generated by the website while still utilizing the CMS, in this case Orchard Core, to author content.
Note
While this guide starts with a new project and uses Razor Pages you can use much of this guide to add Orchard Core as a content management back-end to any existing ASP.NET Core app too.

Prerequisites
You should:
- Be able to create a new ASP.NET Core project
- Be familiar with C# and HTML
- Have the .NET SDK installed
- Have Visual Studio .NET or Visual Studio Code
Setting up the project
Creating the Orchard Core CMS Web Application
Option 1 - From Visual Studio .NET
Follow this option if you want to use Visual Studio .NET.
- Open Visual Studio .NET.
- Create a new ASP.NET Core Web Application project.
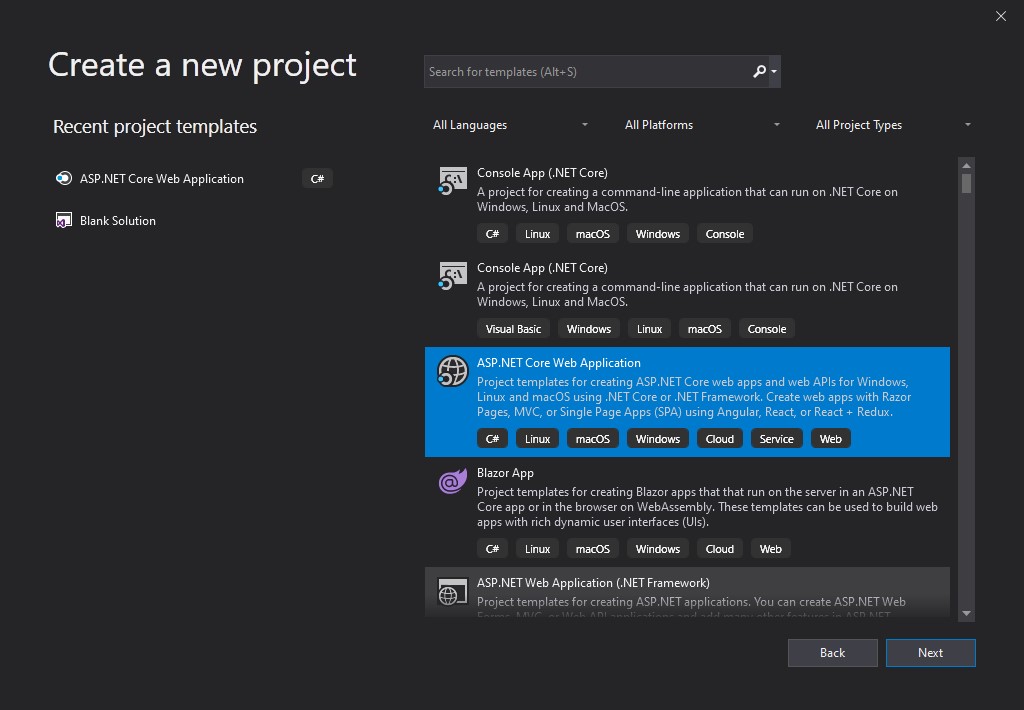
- Enter a Project name and a Location. For this tutorial we'll use "OrchardSite" for the name. Then click Create.
- Select the Web Application template, leave everything else on default and click Create.
Option 2 - From the command line
From the folder where the project
- Type
dotnet new webapp -o OrchardSitewhere "OrchardSite" is the name of the project to create.
This creates a Web application using Razor Pages.
Testing the Website
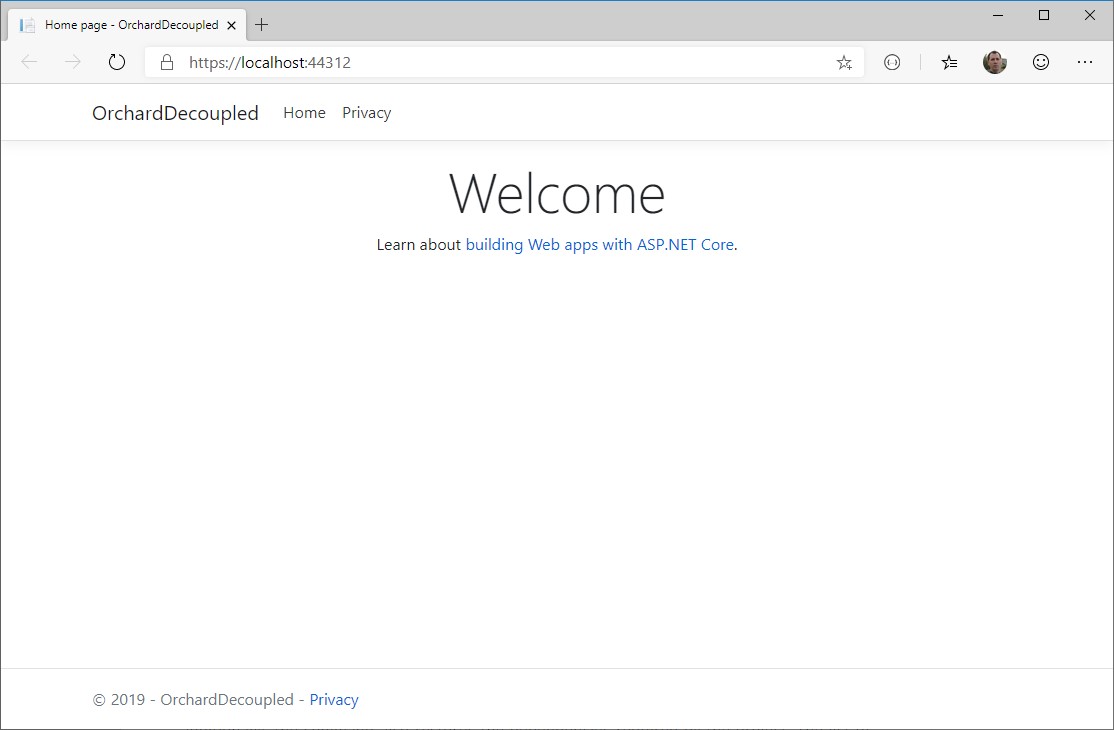
- Start the project.
The newly created website should be able to run, and look like this:
Adding Orchard Core CMS to the Website
- Double-click or edit the .csproj file
- Modify the
<PropertyGroup>section like this:
<PropertyGroup>
  <TargetFramework>net10.0</TargetFramework>
</PropertyGroup>
This will allow for the Razor Pages to be reloaded without the need to recompile them.
- Add a new
<ItemGroup>section like this:
<ItemGroup>
  <PackageReference Include="OrchardCore.Application.Cms.Core.Targets" Version="3.0.0" />
</ItemGroup>
This will add the packages from Orchard Core CMS
- Edit the
Program.csfile to configure OrchardCore CMS services like this:
builder.Services.AddOrchardCms();
Razor Pages
builder.Services.AddRazorPages() must not be called directly as builder.Services.AddOrchardCms() already invokes it internally.
- Edit the
Program.csfile - Add
app.UseOrchardCore(); - If any of the following lines exists in your
Program.csfile, remove them:
  builder.Services.AddRazorPages();

  if (!app.Environment.IsDevelopment())
  {
      app.UseExceptionHandler("/Error");
      app.UseHsts();
  }

  app.UseHttpsRedirection();
  app.UseRouting();

  app.UseAuthorization();

  app.MapRazorPages();
}
Here is a sample of a bare minimum Program.cs file
var builder = WebApplication.CreateBuilder(args);

// Add services to the container.
builder.Services.AddOrchardCms();

var app = builder.Build();

app.UseStaticFiles();
app.UseOrchardCore();

app.Run();
Start the application, the Setup screen shows up:
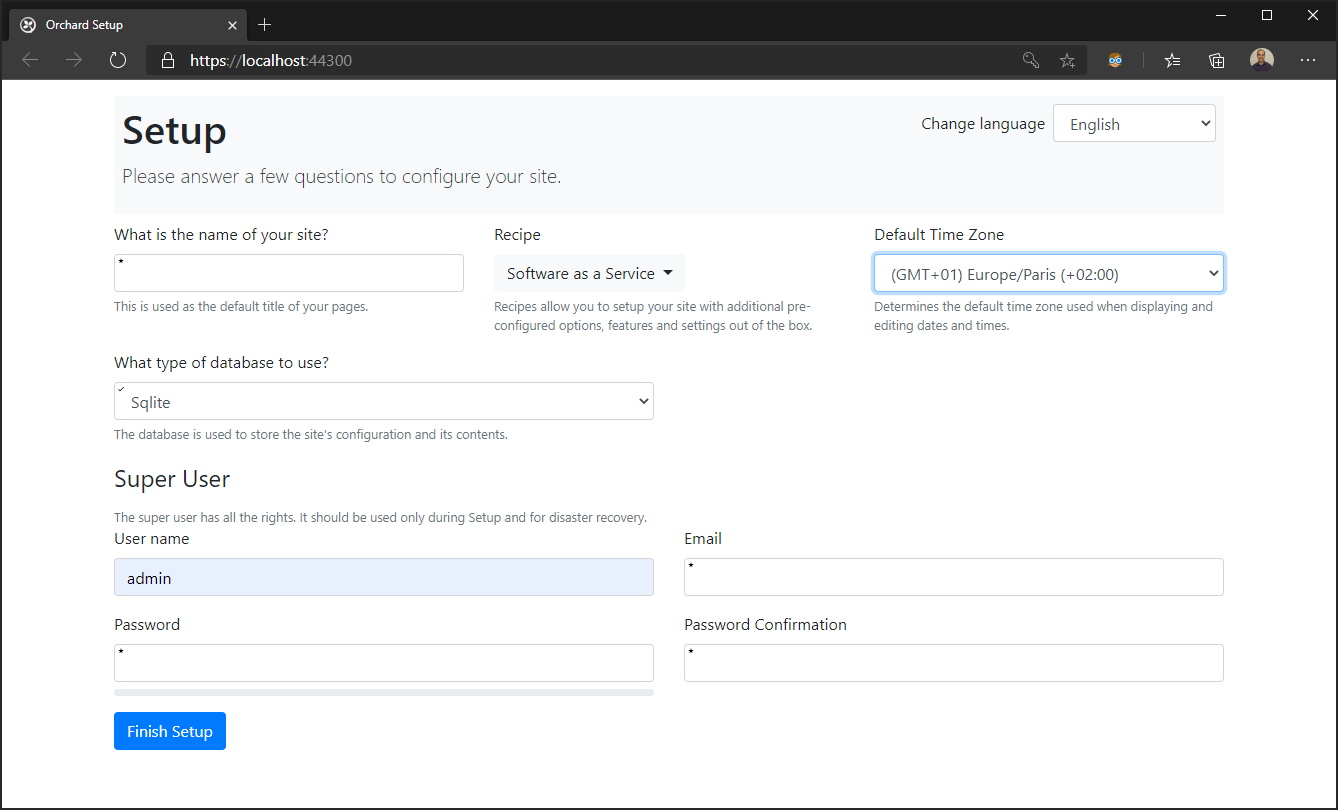
Setting up a new site
The Setup screen expects some information in order to create a new database to store the content and user account.
- Enter a name for your site. In this example we'll use "My Site".
- In the Recipe drop-down, select Blank site which can be used for decoupled and headless modes.
- Select a time zone if the one detected is not correct. All date and times will be entered or rendered relatively to this time zone by default.
- Choose a database server. The easiest way to begin is by selecting Sqlite as it won't require any other step from you.
- In the Super User section, enter some accounts information or your choice. In this example we'll use
adminas the user name. - Click on Finish Setup.
After a couple seconds the same site as the original template should be displayed, with a "Welcome" message.
If you chose Sqlite, all the state of the application is now stored in a folder named App_Data inside your project's root folder.
If something went wrong, try deleting the
App_Datafolder if it exists and go through this section again.
Creating Blog Posts
This part covers the basic content management concepts of Orchard Core CMS, like Content Types and Content Items.
Content Modeling
In Orchard Core CMS most of the content that is managed is called a Content Item. A content item is a versioned document like a page, an article, a blog post, a news item, or anything you need to edit. Each of these documents are based on a Content Type that defines which properties it is made of. For instance any article will have a title and some text. A blog post might also have tags. Orchard Core CMS lets you model the content types the way you want, which is known as content modeling.
For developers
A Content Type is analogous to a class, where a Content Item can be seen as an instance of a Content Type.
Creating a Blog Post content type
Orchard comes pre-configured with a set of composable elements of data management called Content Parts that can be used to create custom types like a LEGO. A Title Part for instance will provide a nice editor to enter the title of a content item, and also set it to the text to display by default in the screens. Another important content part is the Markdown Body Part which provides a way to store and render Markdown as the main text of a content item. This is also useful for a Blog Post.
For developers
A Content Part is analogous to a partial class, where each Content Parts are then aggregated to define a Content Type. Content Fields are analogous to custom properties that are added to the Content Type.
Let's create a new content type named Blog Post and add some necessary content parts to it:
- From the running website, open the url
/admin. - In the login screen, enter the user credentials that were used during the setup.
- You are presented with the administrative side of the site.
- In the left menu, select Design then Content Definition then Content Types.
- Click on Create new type in the top right corner
- In Display Name enter
Blog Post. The Technical Name will be generated automatically with the valueBlogPost, like this:
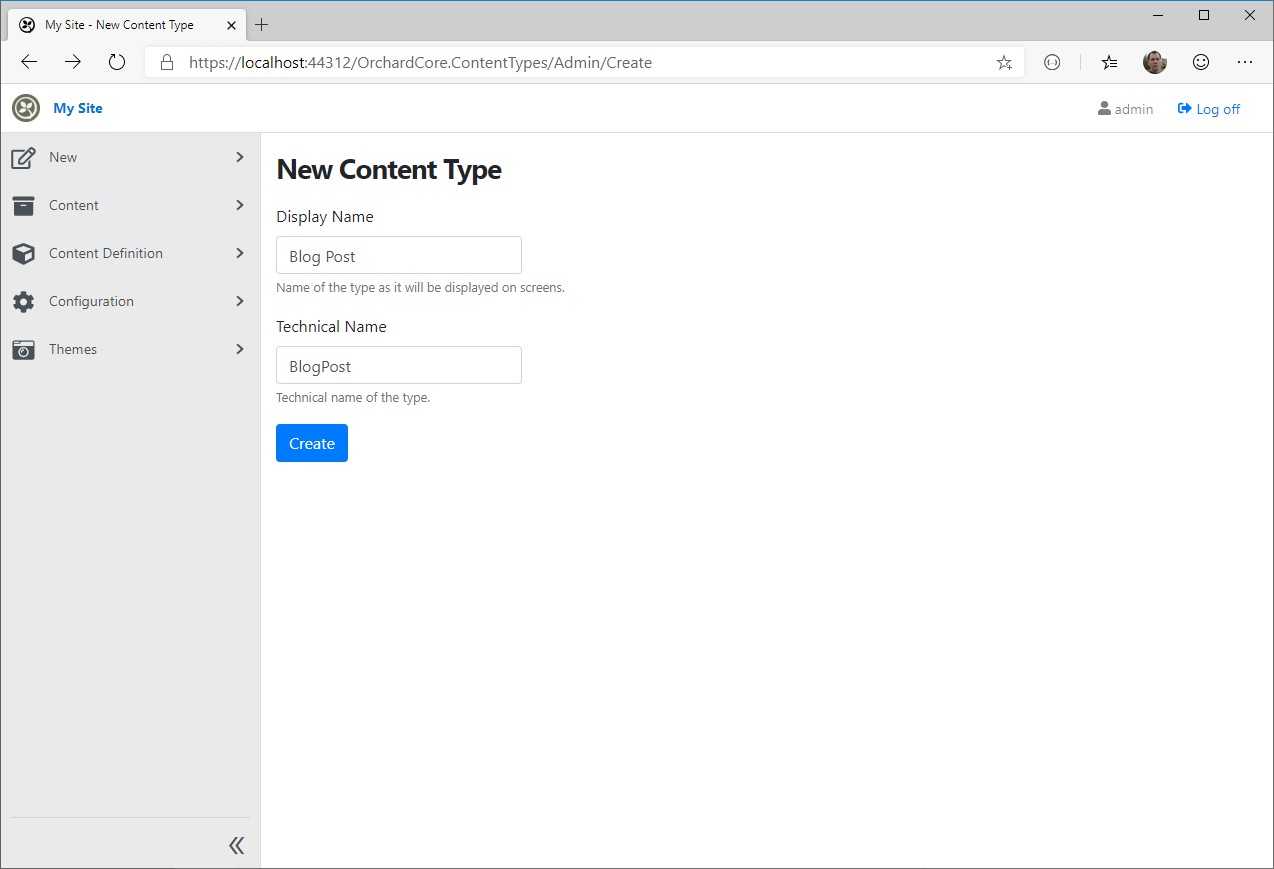
- Click Create
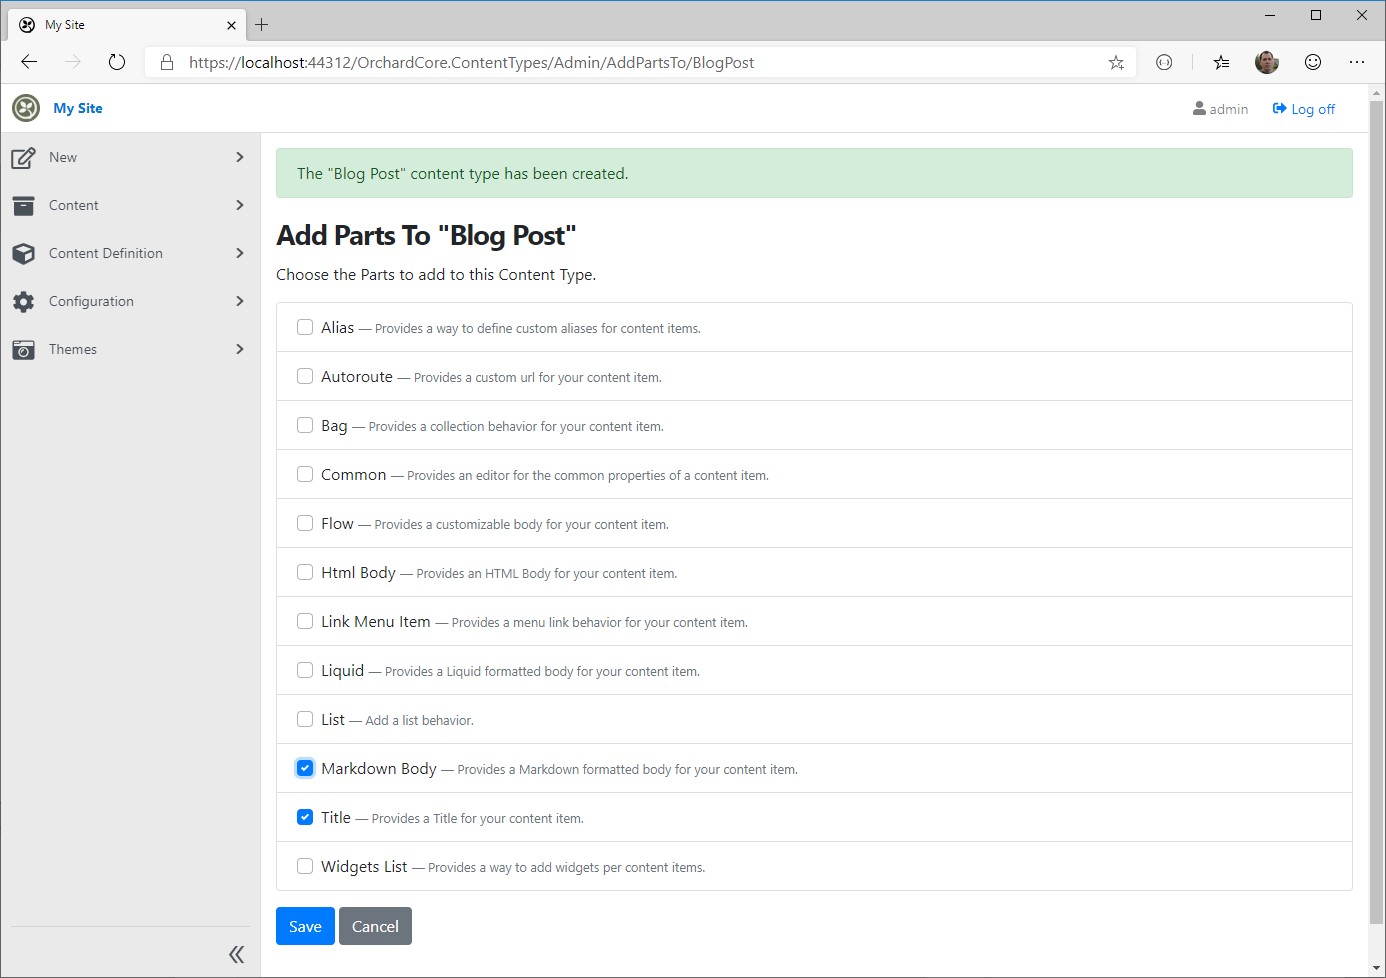
- A list of Content Parts is presented. Select Title and Markdown Body, then click on Save
- In the following screen, scroll to the bottom of the page and re-order the Parts like this:
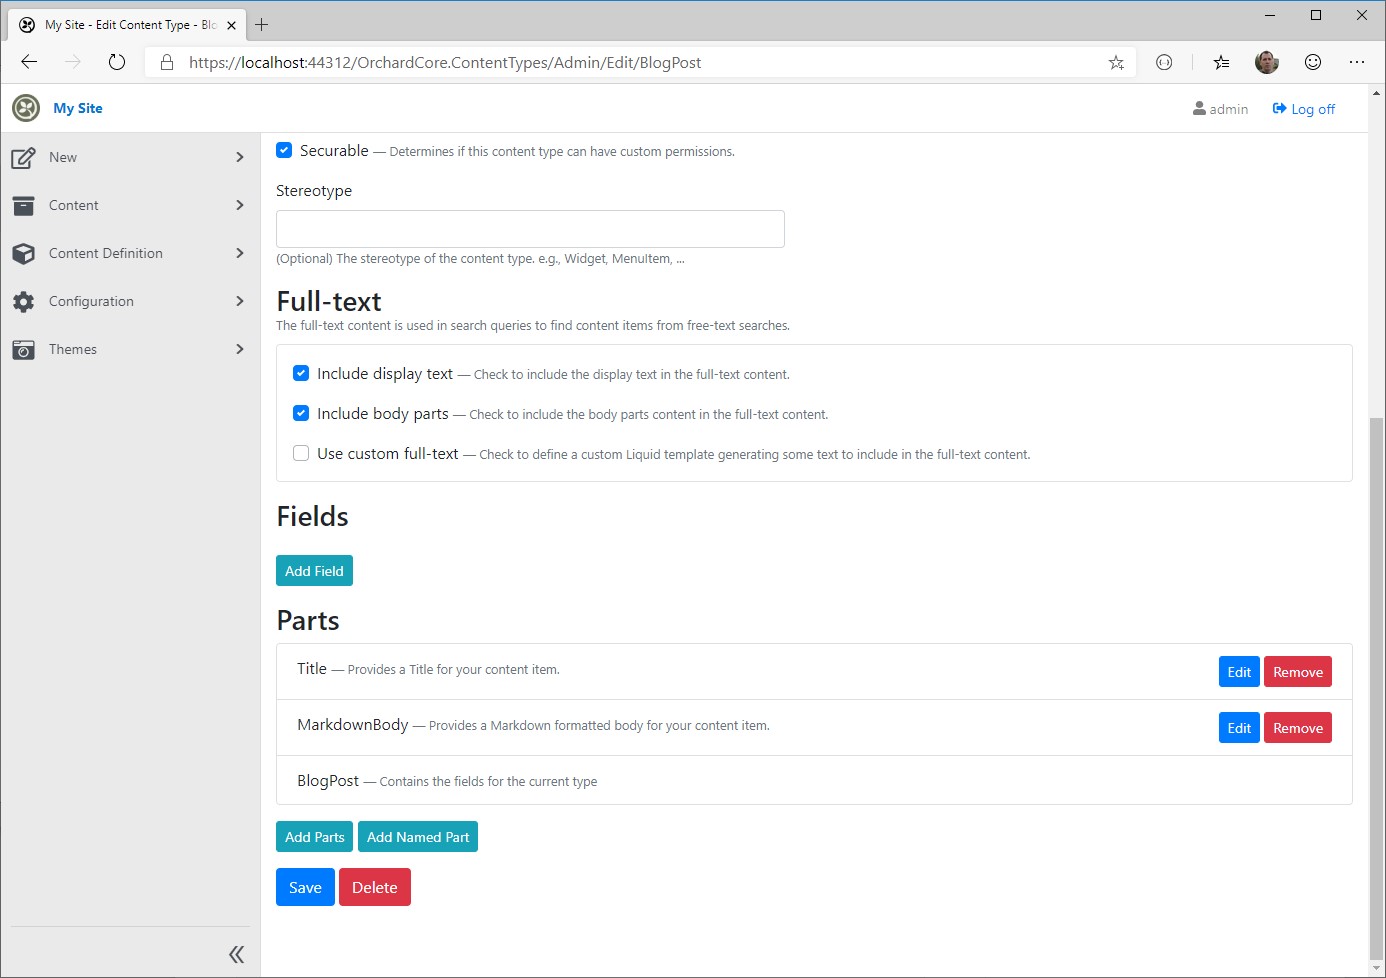
- Then click Save
You can notice an Edit button in front of each content part. This lets us define some settings that might be available for each of them, only for this type.
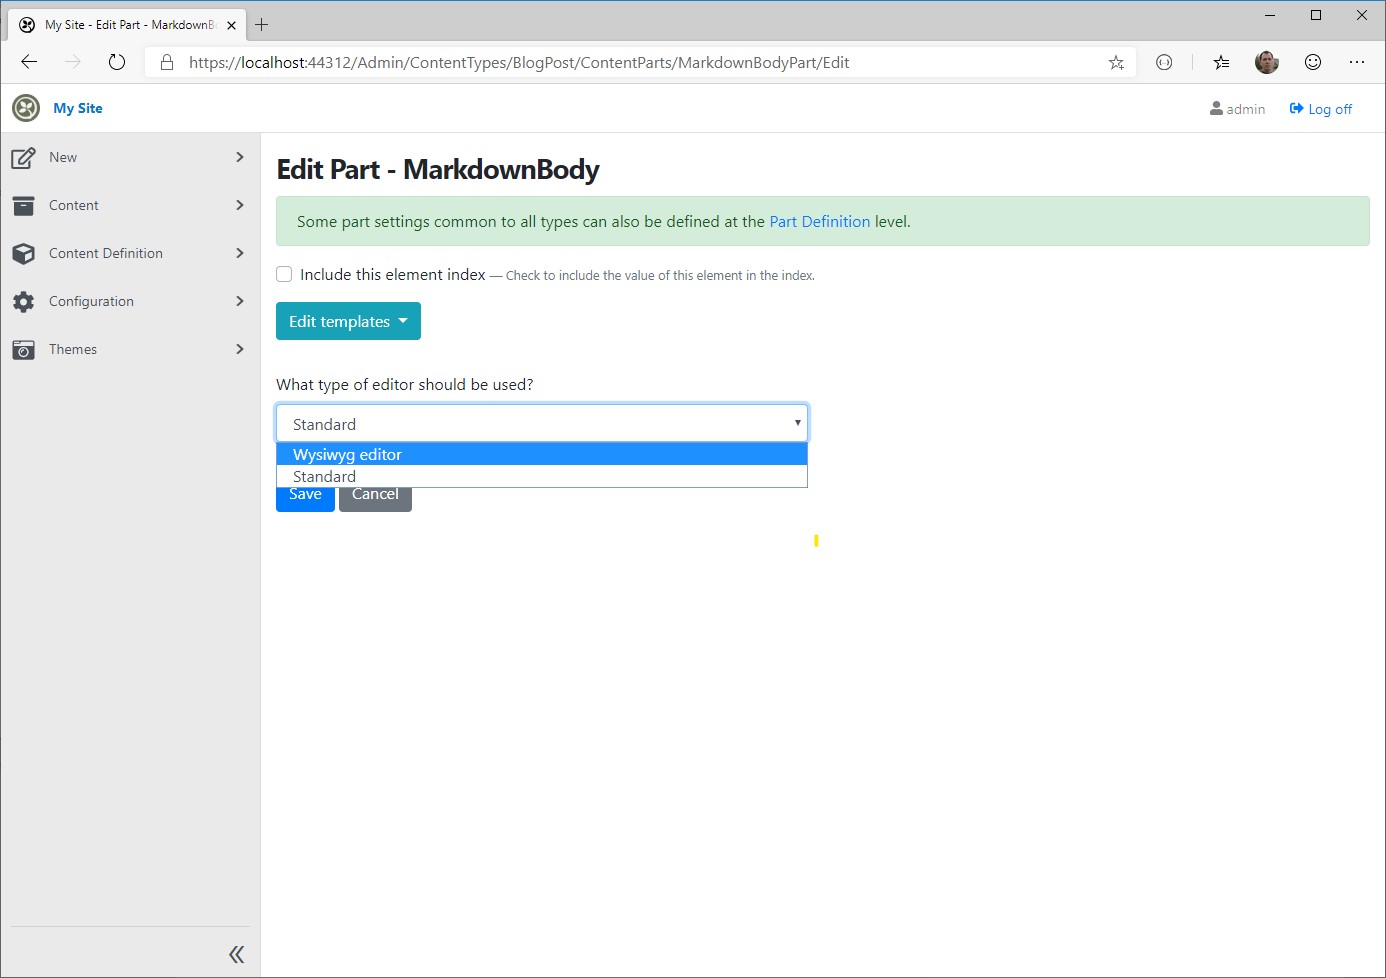
- On the
MarkdownBodypart, click Edit. - Select
Wysiwyg editoras the type of editor to use, then click Save:
The Blog Post content type is ready to use.
Creating blog posts
- In the left menu, select Content then ContentItems
- Click on New Blog Post to reveal an editor for the newly created
BlogPostcontent type.
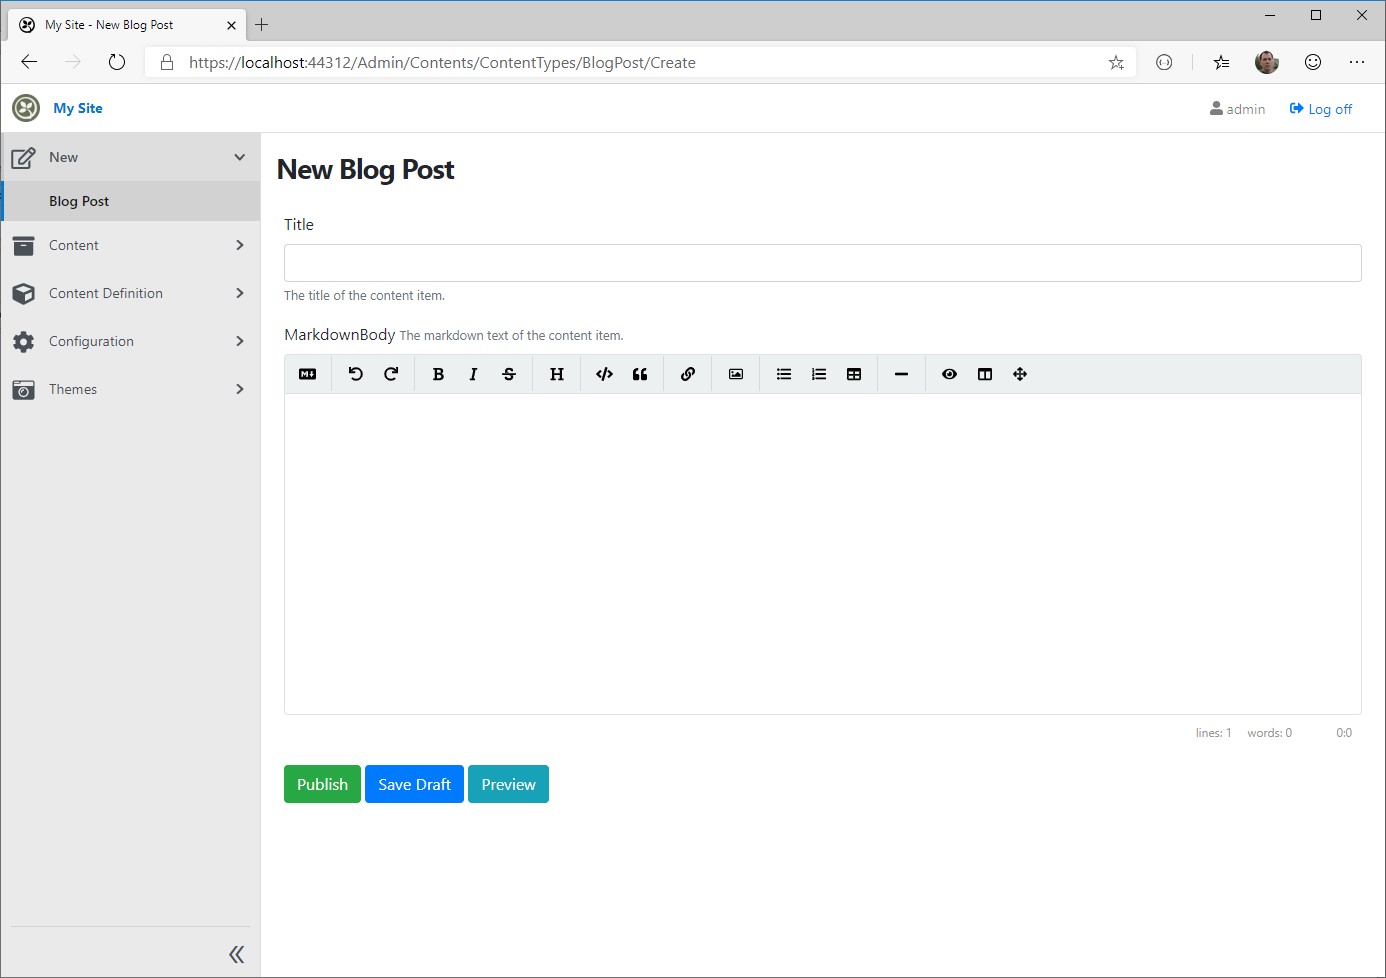
- Fill in the Title and the MarkdownBody form elements with some content, then click on Publish. For the sake of this example we'll use
This is a new dayand some Lorem Ipsum text.
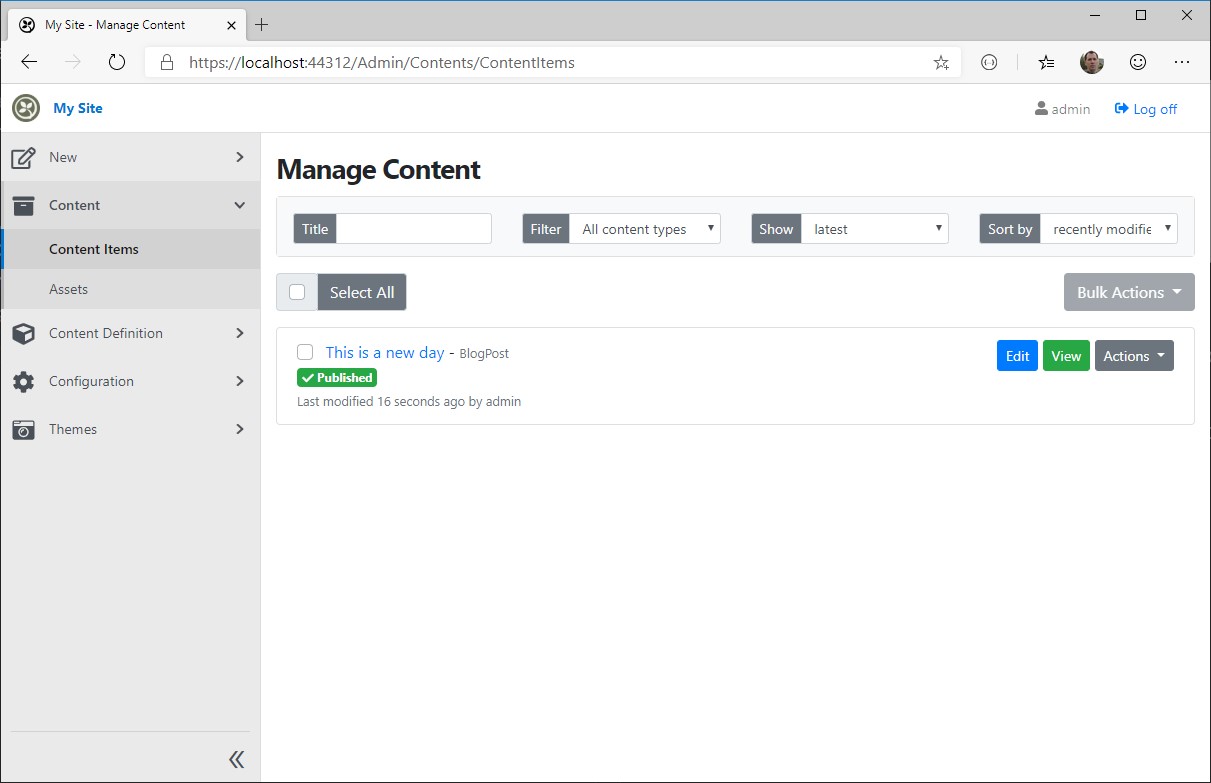
This shows that we now have a new blog post content item named This is a new day. As we create more content items these will appear on this page.
Rendering content on the website
The next step is to create a custom Razor Page that will display any blog post with a custom URL.
Creating a custom Razor Page
- In the editor, in the
Pagesfolder, create a new file namedBlogPost.cshtmlwith the following content:
@page "/blogpost/{id}"

<h1>This is the blog post: @Id</h1>

@functions
{
    [FromRoute]
    public string Id { get; set; }
}
- Open the URL
/blogpost/1to display the previous page.
Accessing route values
In the route, the URL segment named {id} is automatically assigned to the Id property that is rendered with the @Id syntax.
Loading a Blog Post from its identifier
Each content item in Orchard Core has a unique and immutable Content Item Identifier. We can use it in our Razor Page to load a blog post.
- Edit the
BlogPost.cshtmlRazor Page like this:
@page "/blogpost/{id}"
@using OrchardCore
@inject IOrchardHelper Orchard
@{
var blogPost = await Orchard.GetContentItemByIdAsync(Id);
}
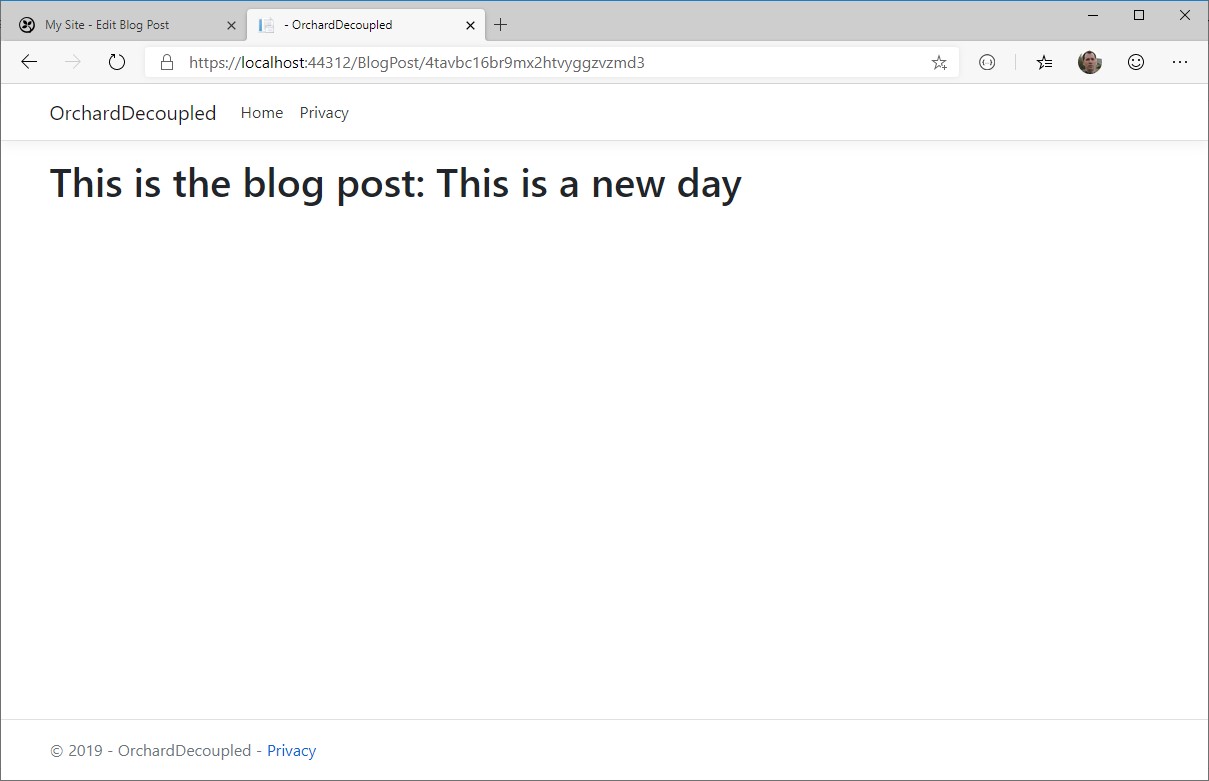
<h1>This is the blog post: @blogPost.DisplayText</h1>
@functions
{
[FromRoute]
public string Id { get; set; }
}
- In the Content Items page, click on the blog post we created in the previous section.
- Find the part of the URL after
/ContentItems/, which is4tavbc16br9mx2htvyggzvzmd3in the following screenshot:

- Open the URL
/blogpost/[YOUR_ID]by replacing the[YOUR_ID]section with the values for your own blog post. - The page should display the actual title of the blog post.
Accessing the other properties of a Content Item
In the previous section the DisplayText property is used to render the title of the blog post. This property is common to every content items, so is the ContentItemId or Author for instance. However each Content Type defines a unique set of dynamic properties, like the Markdown Part that we added in the Content Modeling section.
The dynamic properties of a content item are available in the Content property, as a Json document.
- Edit the Razor Page by adding the following lines after the title:
...
<h1>This is the blog post: @blogPost.DisplayText</h1>

@Orchard.ConsoleLog(blogPost)
...
- Re-open the Blog Post page with the content item id, then press F12 to visualize the Debugging tools from the browser, then open the Console. The state of the content item should be displayed like this:
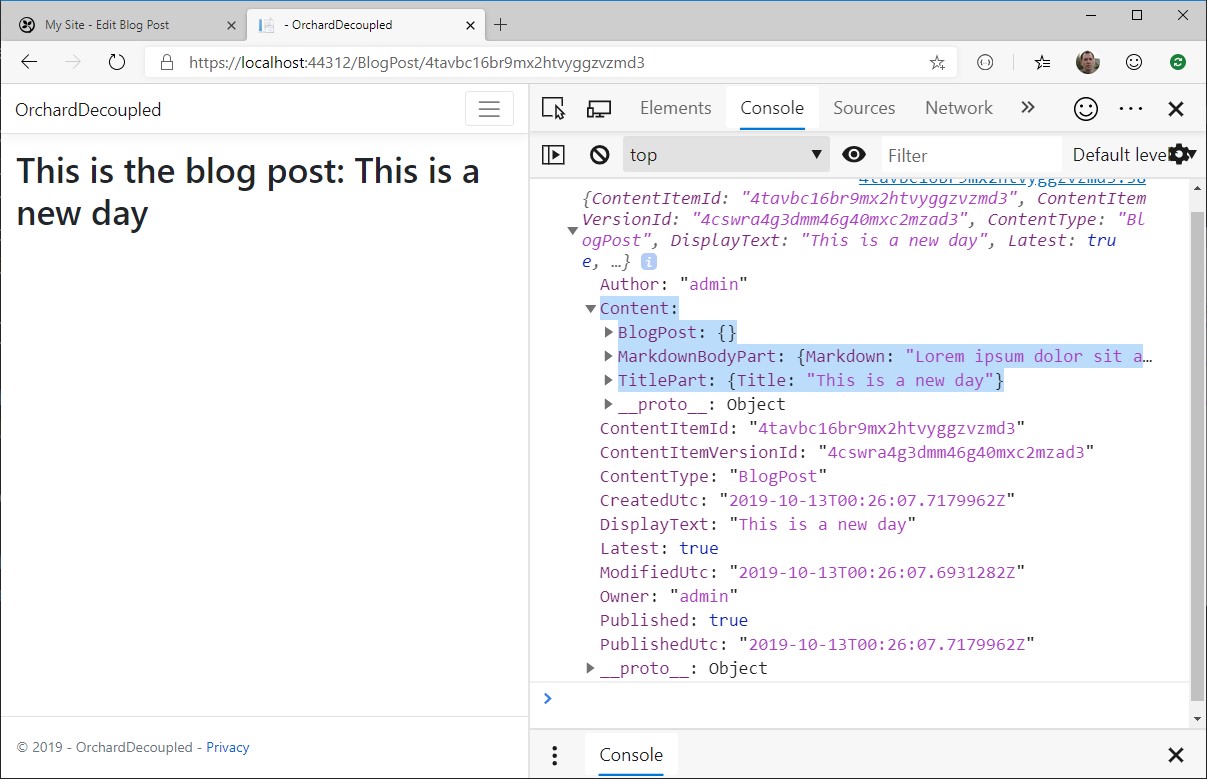
All the properties of the current content item are displayed, including the Content property which contains all the dynamic parts we have configured for the Blog Post content type.
Expanding the MarkdownBodyPart node reveals the Markdown field with the content of the blog post.
- Edit the Razor Page to inject this code:
...
<h1>@blogPost.DisplayText</h1>

<p>@blogPost.Content.MarkdownBodyPart.Markdown</p>

@Orchard.ConsoleLog(blogPost)
...
- Refresh the blog post page to reveal the Markdown text.
- Finally, we can process the Markdown content and convert it to HTML with this code:
<p>@await Orchard.MarkdownToHtmlAsync((string) blogPost.Content.MarkdownBodyPart.Markdown)</p>
Loading a Blog Post from a custom slug
Even though we can load blog posts from their Content Item Id, this is not user friendly and a good SEO optimization is to reuse the title in the URL.
In Orchard Core CMS the Alias Part allows to provide a custom user friendly text to identify a content item.
- In the admin section of the site, open Design > Content Definition > Content Types > Blog Post
- At the bottom of the page, select Add Parts
- Select Alias and click Save
- Move Alias under Title and save
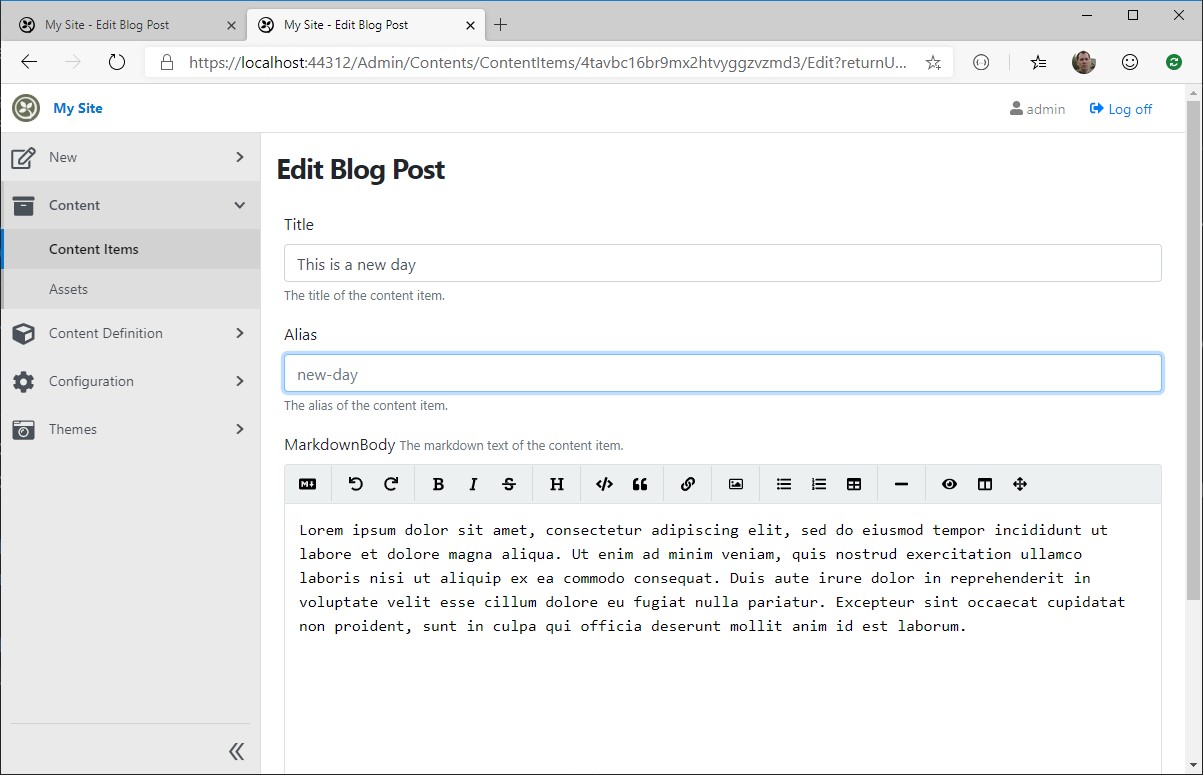
- Edit the blog post, the Alias text box is now displayed, in which you can enter some text. In this example we'll use
new-day
We can now update the Razor Page to use the alias instead of the content item id, in both the URL and in the way we load the content item.
- Change the Razor Page with the following code:
@page "/blogpost/{slug}"
@using OrchardCore
@inject IOrchardHelper Orchard

@{
    var blogPost = await Orchard.GetContentItemByHandleAsync($"alias:{Slug}");
}

...

@functions
{
    [FromRoute]
    public string Slug { get; set; }
}
The changes consist in using the slug name in both the route and the local property, and also use a new method to load a content item with an alias.
- Open the page
/blogpost/new-daywhich should display the exact same result, but using a more SEO- and user-friendly URL.
Generating the slug using a custom pattern
The Alias Part provides some custom settings in order to let it be generated automatically. In our case we want it to be generated from the Title, automatically. To provide such patterns the CMS uses a templating language named Liquid, together with some custom functions to manipulate content items' properties. Orchard provides a generally suitable default pattern.
- Edit the content definition of Blog Post, and for the Alias Part click on Edit.
- In the Pattern textbox note the pre-filled pattern:
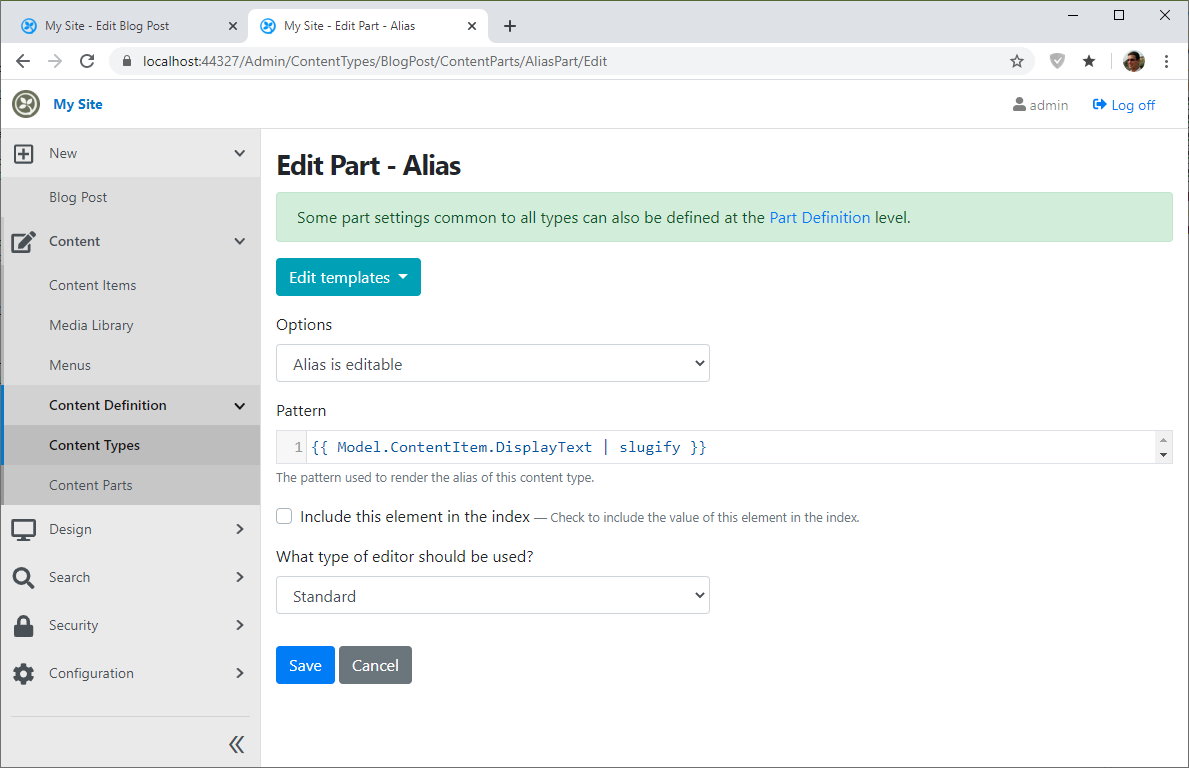
This will dynamically extract the DisplayText property of a content item, in our case the Title, and call the slugify filter on this values, which will turn the title into a value that can be used in slugs.
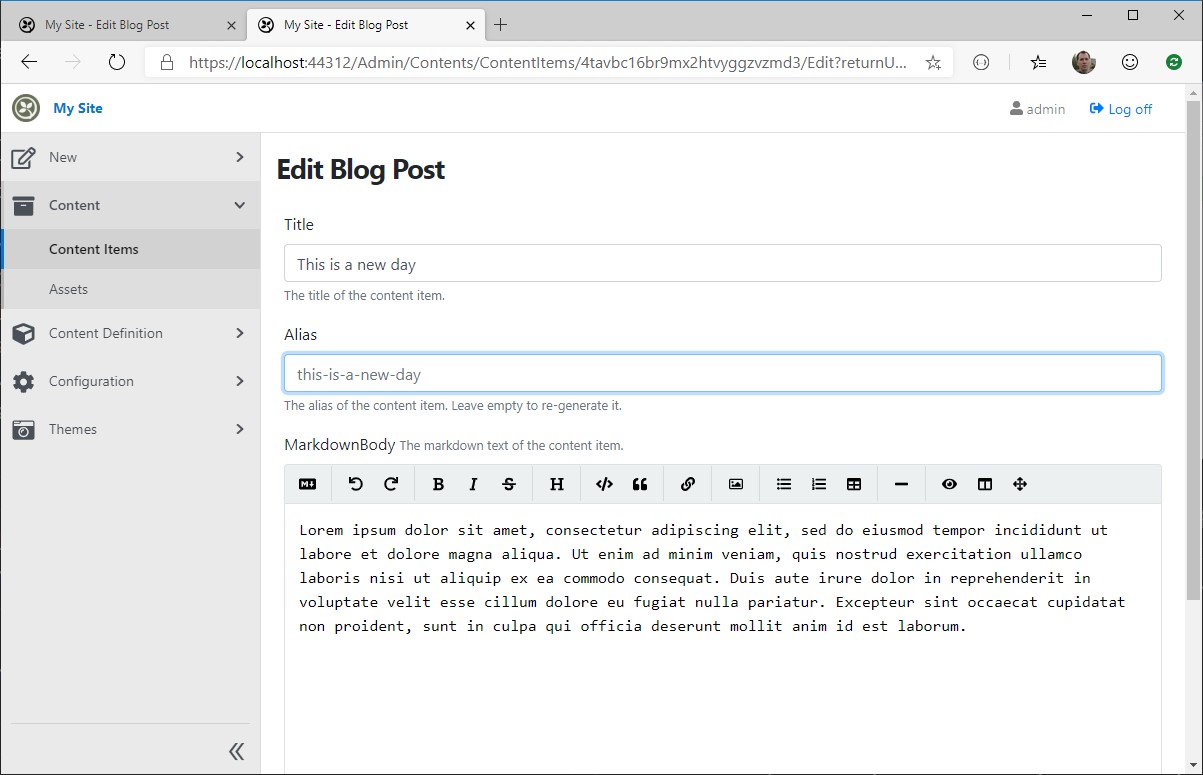
- Edit the blog post content item.
- Clear the Alias textbox. This will allow the system to generate it using the custom pattern we defined.
- Click Publish (and continue).
The alias is now this-is-a-new-day:
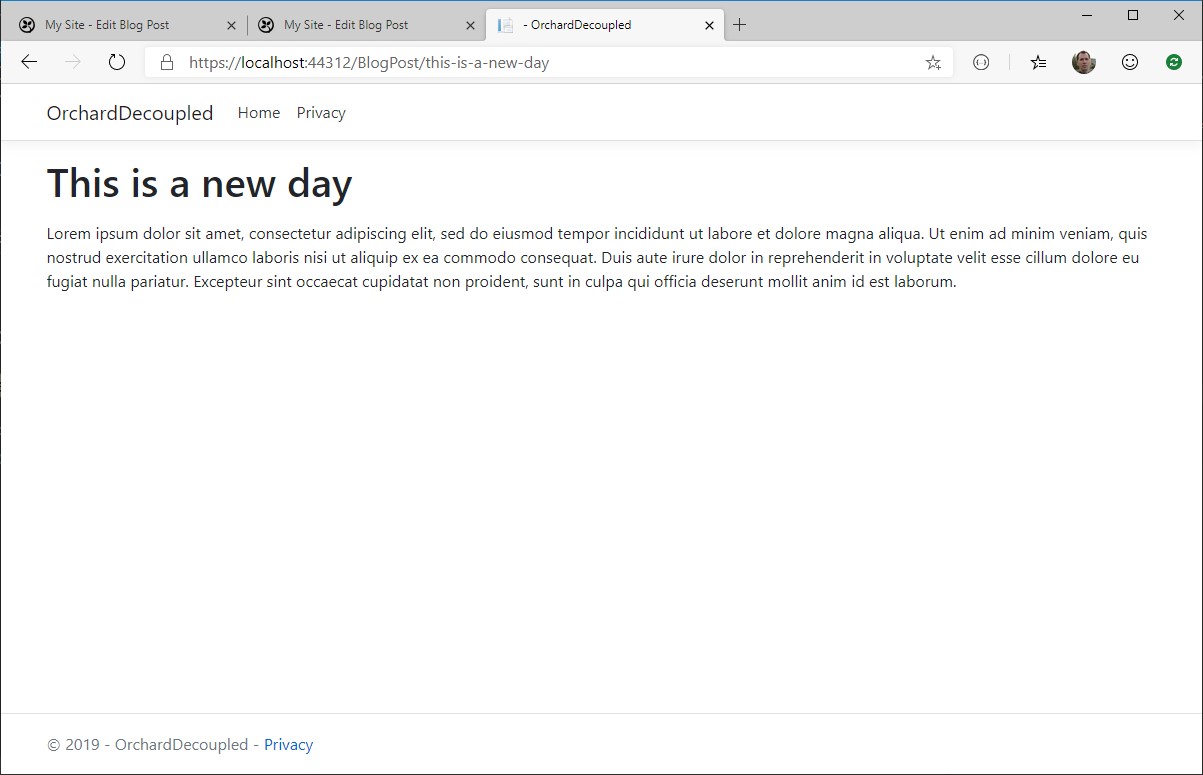
- Open the URL
/blogpost/this-is-a-new-dayto confirm that the route still works with this auto-generated alias.
Assignment
Create a new Blog Post with a Title and verify that the alias is auto-generated, and that it can be displayed using its own custom URL.
Configuring the Preview feature for Blog Posts
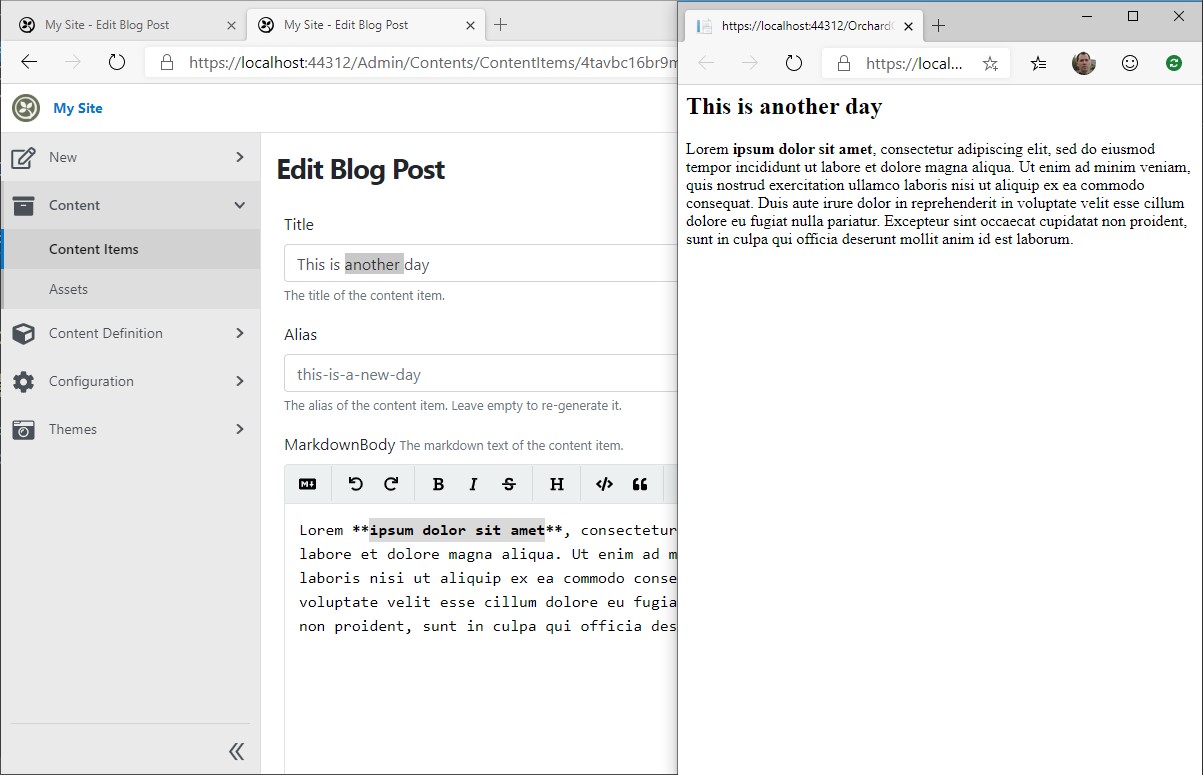
One very useful feature for the users who will have to edit the content is called Preview. If you try to edit a blog post and click on the Preview button, a new window will open with a live preview of the currently edited values.
- While editing an existing blog post, click on Preview, and snap the new windows on the side.
- Edit the Title while the preview windows is visible, and notice how the result updated automatically.
The CMS doesn't know what Razor Page to use when rendering a content item, and will use a generic one instead. However, the same way we provided a pattern for generating an alias, we can provide a pattern to invoke a specific page for previewing a content item.
- Edit the content definition of Blog Post, click Add Parts, then select Preview. Click Save.
- In the list of parts, for Preview, click on Edit to change its settings for this content type.
- In the Pattern textbox, enter
/blogpost/{{ ContentItem.Content.AliasPart.Alias }}which is the way to generate the same URL as the route which is configured in the Razor page.

- Click Save and open the preview of a Blog Post while editing it.
As you can see the preview is now using the specific route we set up for displaying a Blog Post, and editors have a full fidelity experience when editing the content.
Suggestion
A dedicated template can also be used for previews, which would provide hints for editors, or detect mistakes, and render them in the preview window. Users can also change the size of the window to test the rendering on different clients.
Summary
In this tutorial we have learned how to
- Start a new Orchard Core CMS project
- Create custom content types
- Edit content items
- Create Razor Pages with custom routes to render then content
- Load content items with different identifiers
- Render wysiwyg preview screens while editing the content